Tips to Host a Clothing Swap for Kids
 It’s a certainty that your children will quickly grow out of their clothes, so instead of spending hours browsing online sales or clothing racks, start planning a kids’ clothing swap where parents can exchange items — for free. Make your event a success with these detailed steps for planning your swap. It’s a certainty that your children will quickly grow out of their clothes, so instead of spending hours browsing online sales or clothing racks, start planning a kids’ clothing swap where parents can exchange items — for free. Make your event a success with these detailed steps for planning your swap.
Organize, Organize, Organize
A successful clothing swap is made in the organizational stages. You need to think of as many contingencies as possible — and recruit plenty of help.
- Find Co-hosts - Reach out to a couple of friends to help with this endeavor. A few helping hands will save time and ease stress. Plus, your friends have their own network of people to add to the guest list.
- Start a Guest List - Who should you invite to the swap? It’s best to collaborate with your co-hosts to create a list. First, start by determining an upper limit of guests. You’ll also want to determine the age range you’re going for — babies and toddlers or elementary school, for instance. Your list can also grow year after year once you’ve got your logistics down. You could even make it a neighborhood-wide event.
- Pick a Location - This really depends on the above step and how big or small you want to the swap to be. If you’re thinking a small group of 30 or fewer, then someone’s home may work if organized properly. For larger events, you will want to consider a neighborhood clubhouse or a multi-purpose room at a local church. Keep in mind, using a venue other than someone’s home will probably add a cost to your event.
- Set the Date - Your best bet is a weekend morning or early afternoon, but you also want to consider seasonality. It’s best to organize a swap as parents are ready to switch out winter clothes for spring and summer or vice versa. Send out invites at least a month ahead of time. Genius Tip: Send invitations and collect RSVPs with SignUpGenius.
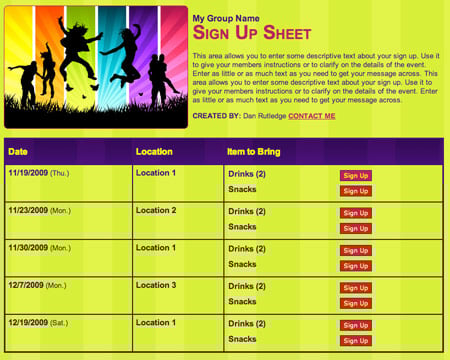
Collect money for clothing swap registration with a sign up. SAMPLE
Make the Rules
Establish clear guidelines — and send them out in a custom message — before the event. It won’t hurt to post them clearly at your swap location as well.
- Determine Number of Items - Will you have a limit per family or per child? You’ll also want to consider if this is a swap only for more upscale brands or if anything goes (as long as it’s in good condition). If you want to start small, 10-20 items per child is a good rule of thumb.
- Decide About Other Items - Will you allow accessories, shoes or baby gear? (It’s best to stay away from toys.) If you do, set clear rules around these items as well.
- Set a Drop-off Date - Encourage participants to drop off their clothes before the swap. Ask them to organize items by size and to include hangers if you plan to use a clothing rack — this will make your job easier as an organizer. Your event will go much more smoothly if you organize items by size, gender, and type of clothing.
- Create a Swap System - When a participant drops off items, give them a ticket in the form of a sticker. (Ask them to write their name on it with a marker.) If a mom brings 10 items, she’ll be able to trade for as many as 10 items — this ensures everyone gets an even trade. Remind moms to bring tickets to the swap.
- Think About Assigning Numbers - Another fair way to run a swap is to randomly assign numbers to each participant and let them enter the swap area in waves if you have a large group.
- Set a Child Policy - Will kids be allowed to attend the swap? Some moms might be unsure of clothing size for their growing kids. If your group decides children can attend, then determine locations that can serve as dressing rooms. It’s just fine if your group decides kids can’t attend, some clothing swaps serve as a social event for moms as well as a wardrobe refresh.
Set Up Your Swap Space
A good flow and a space that’s organized well in advance of your swap will be the keys to a stress-free day.
- Create a Layout - Whether you’re using one or multiple rooms, you’ll need to arrange the clothing to maximize access and flow for attendees. If you’re able to, borrow or rent clothing racks since it will be much easier for people to browse items that are hanging. If the swap is at a home, decide if you want to spread out over multiple rooms, sorting items by age or gender depending on the room.
- Create a Landing Zone for Unwanted Items - Designate an area for items that participants think twice about and don’t want. You can monitor this spot throughout the swap and place items back where they belong. If you have an older child, this could be their job during the event. Sorting tables where participants can sort the items they think they want will also help participants pick items more quickly.
- Establish a Check-out Process - Set up a folding table and have guests “check out” by turning in their tickets. You can even provide bags (at least plastic ones) so they’ll have an easy way to transport items.
- Be Creative - While utility is important, put some creativity into the swap to ensure everyone has a good time. Search online for free printables you can hang around the space with phrases like “You’re Only Young Once” or “They Grow Up So Fast.” You can also print signs that designate clothing sizes that match the tickets you give participants for items.
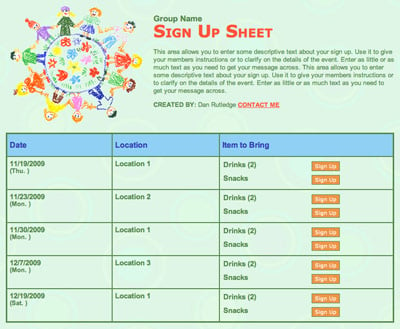
- Serve Food - Provide light items that are easy to eat while browsing clothes — you don’t want to encourage stains after all! Encourage guests to bring a breakfast item or an afternoon appetizer, depending on the time of your event. Genius Tip: Create an online sign up where guests can sign up to bring a suggested item. Co-hosts can supply drinks and paper goods.
- Make a Playlist - Cater to your crowd and play music to set a tone, whether it’s classical music or hit songs from your golden era. You’ll just probably want to skip “Wheels on the Bus.” They get that enough at home.
- Invite Vendors - If your event is large enough, you can also invite people who own small businesses — think hair bows or self-care products for parents — to set up a booth.
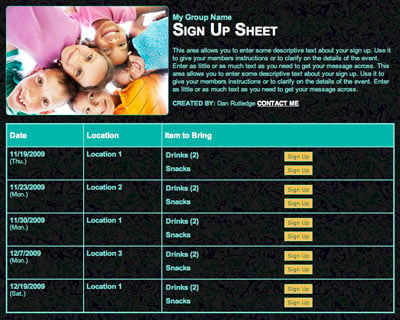
Coordinate consignment sale volunteers with a sign up. SAMPLE
Wrap it Up
- Exchange Info - Many parents are looking for connections with people in the same life stage, so encourage participants to exchange numbers or set up a Facebook group where people can connect and exchange advice after the event is over.
- Send a Recap - Make sure to send a thank you note a day or two after the event to let participants know you appreciate them. Include the next swap’s date if you are planning ahead!
- Donate Leftovers - Give people the option to reclaim any unwanted items, but encourage them to donate the rest to a charity that provides clothing to children in your community.
- Decide What Worked - As a final step, share notes among co-organizers and decide what you would change for the next swap. Toast your biggest successes as well!
A clothing swap is a great get together for friends and a chance to change up your kids’ wardrobes while saving money. Start planning your swap today!
Sara Kendall is a freelance writer and mom of two daughters.
|
.png)


.png)


.png)


.png)
